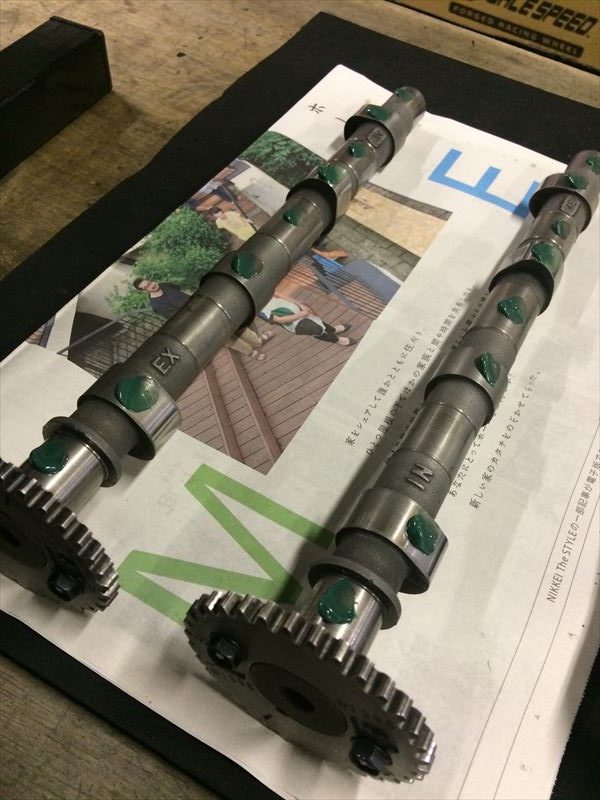
今回使用するカムシャフトは当社のストックからとはなりますが、上質な個体をご用意できましたのでそちらを使用していきます。
![](http://www.spec-hiroshima.com/top/wp-content/uploads/2020/09/IMG_0137_R-rotated.jpg)
![](http://www.spec-hiroshima.com/top/wp-content/uploads/2020/09/IMG_0151_R-rotated.jpg)
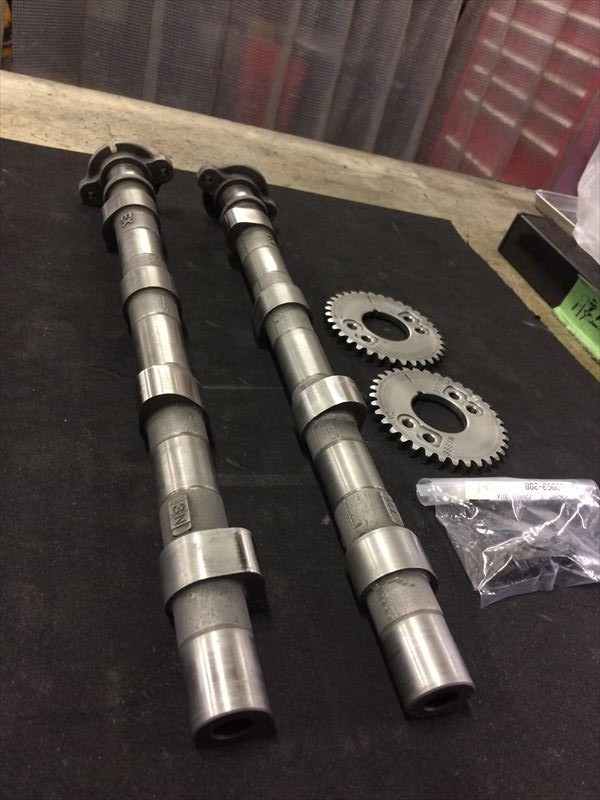
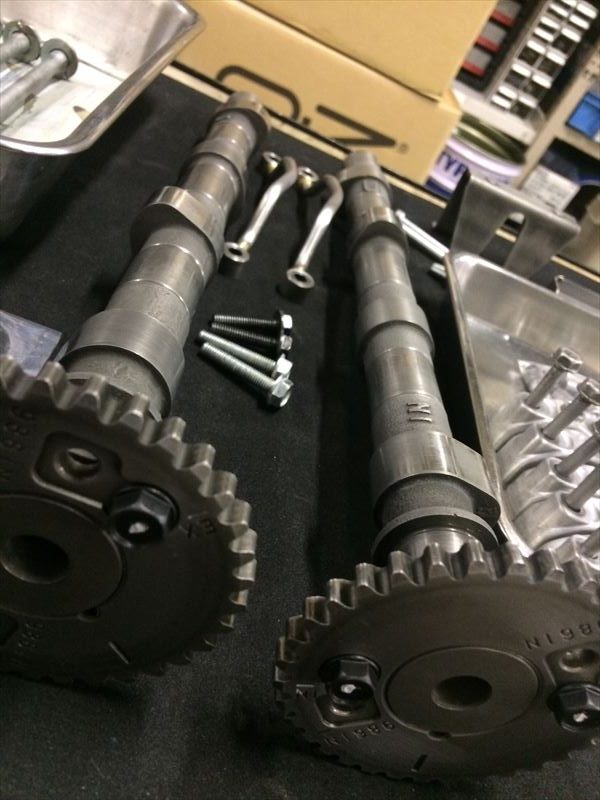
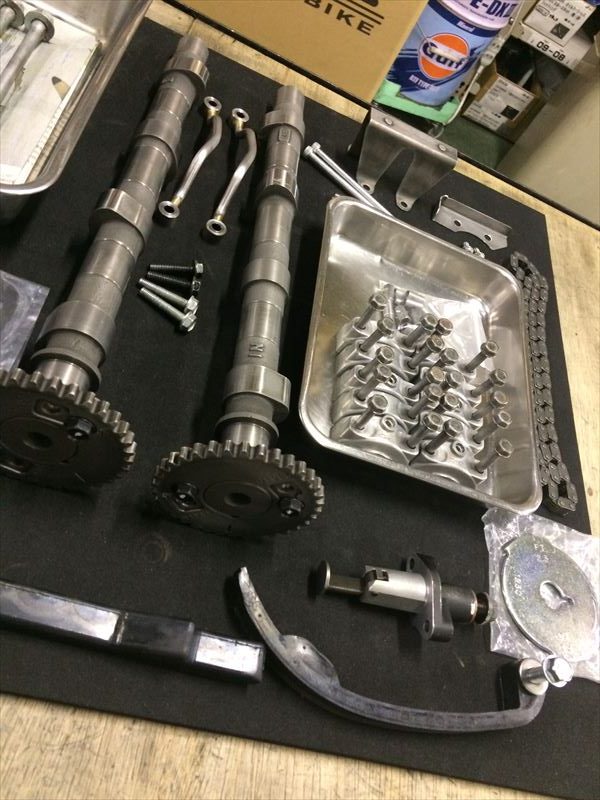
またその他の構成部品も選定・準備を終えて組付けを待ちます。
![](http://www.spec-hiroshima.com/top/wp-content/uploads/2020/09/IMG_0150_R-rotated.jpg)
![](http://www.spec-hiroshima.com/top/wp-content/uploads/2020/09/IMG_0148_R.jpg)
![](http://www.spec-hiroshima.com/top/wp-content/uploads/2020/09/IMG_0162_R.jpg)
![](http://www.spec-hiroshima.com/top/wp-content/uploads/2020/09/IMG_0163_R-rotated.jpg)
![](http://www.spec-hiroshima.com/top/wp-content/uploads/2020/09/IMG_0164_R-rotated.jpg)
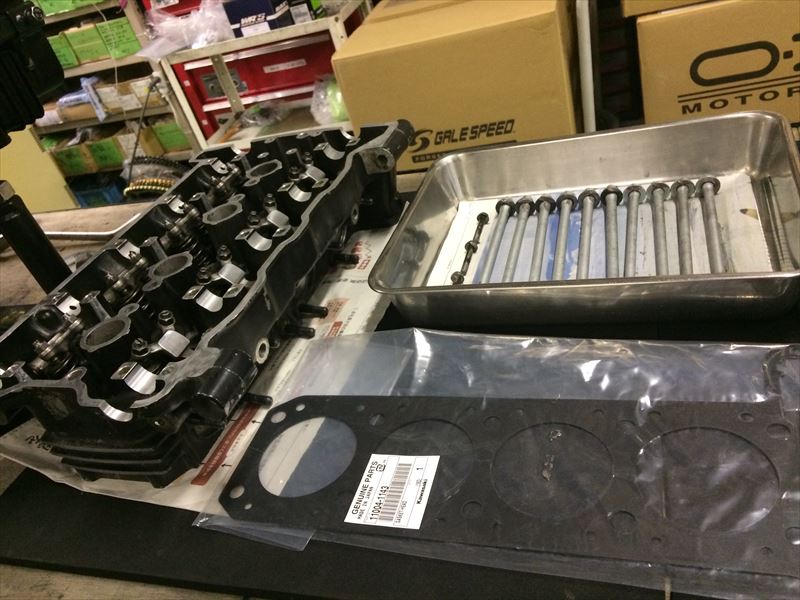
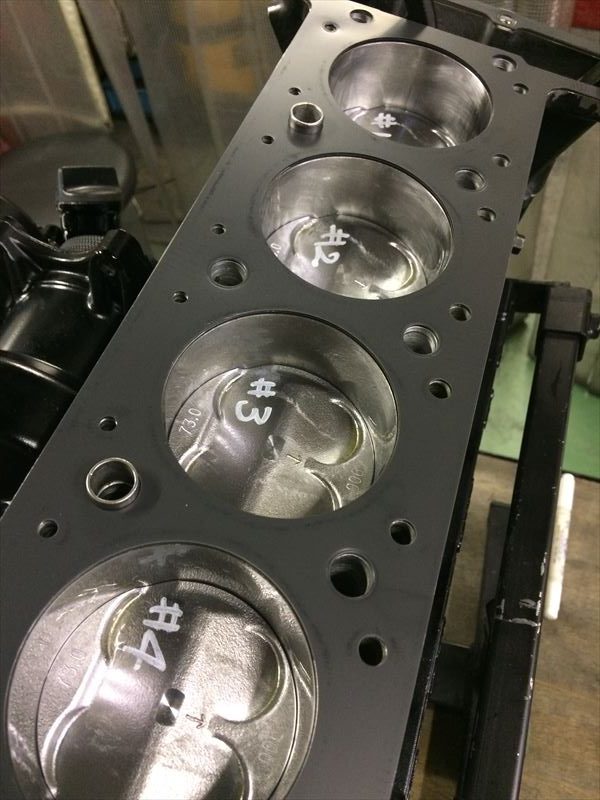
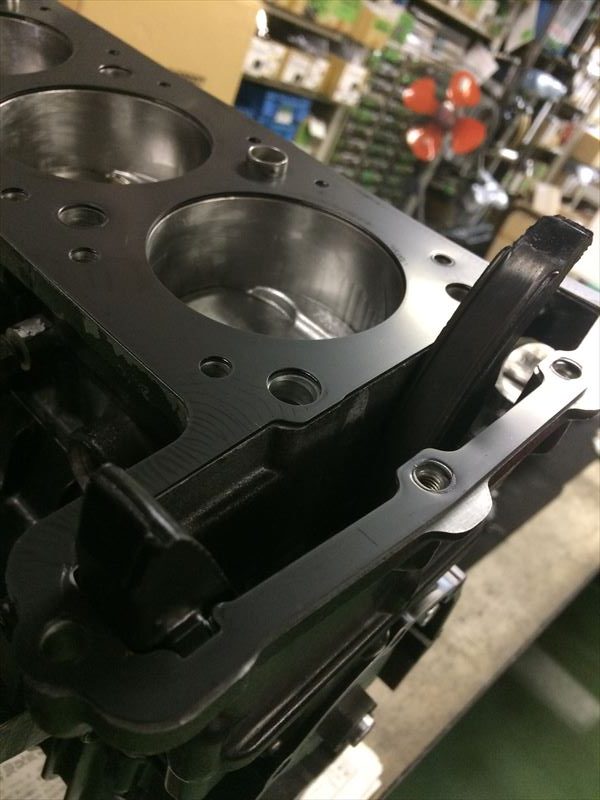
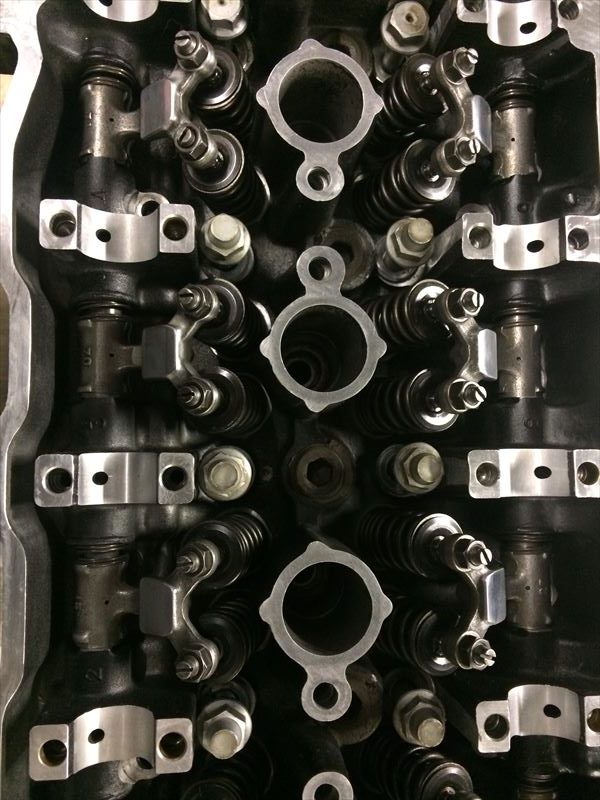
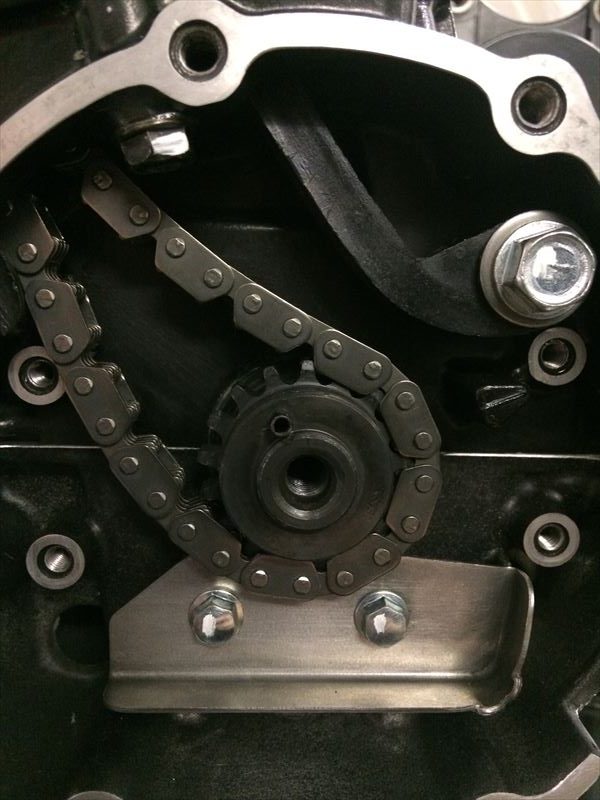
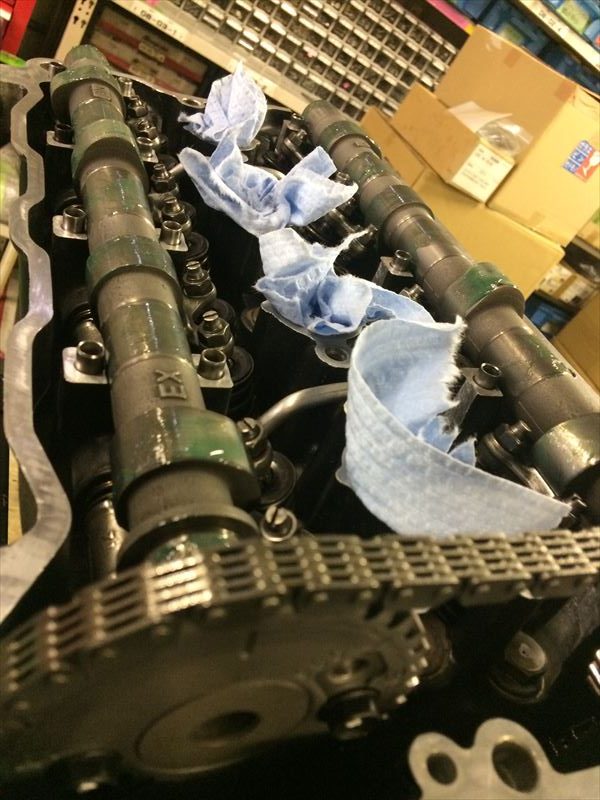
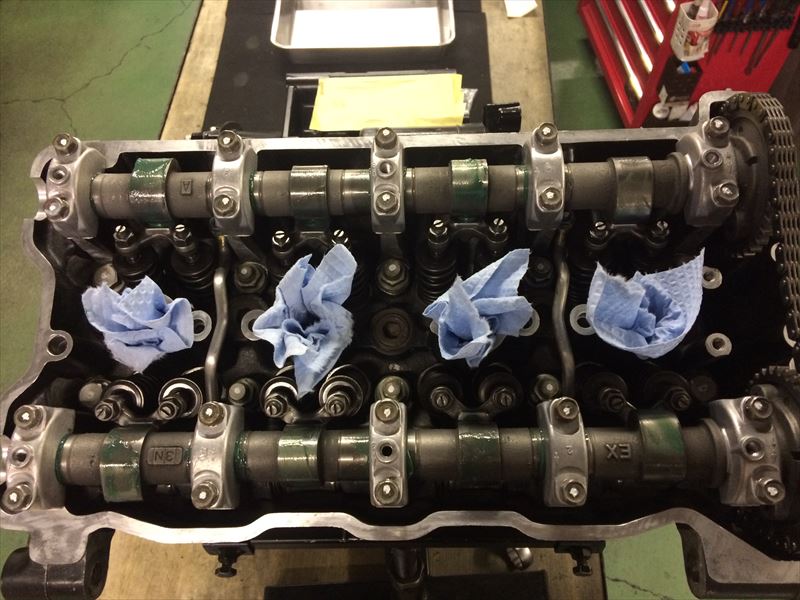
ガスケット・ノックピン、カムチェーンガイドもこの時点で取り付け、シリンダーヘッドを載せていきます。
![](http://www.spec-hiroshima.com/top/wp-content/uploads/2020/09/IMG_0167_R-rotated.jpg)
![](http://www.spec-hiroshima.com/top/wp-content/uploads/2020/09/IMG_0170_R-rotated.jpg)
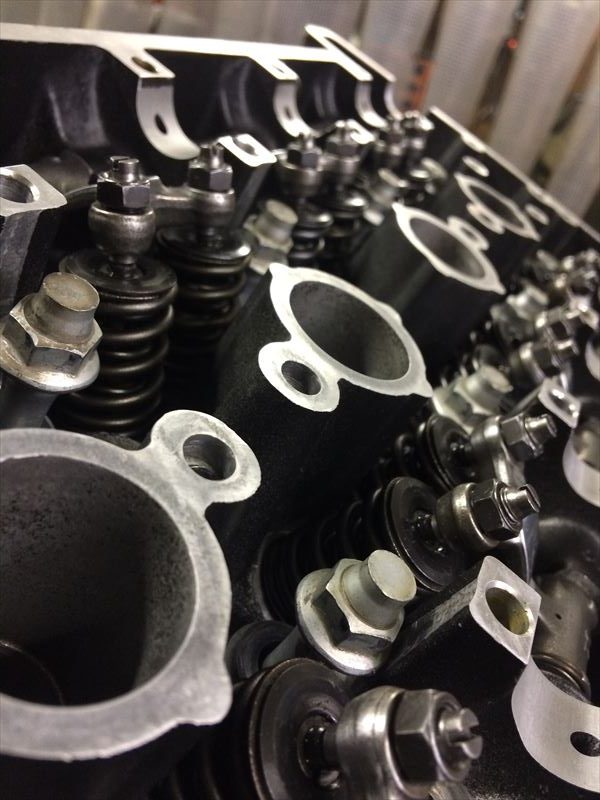
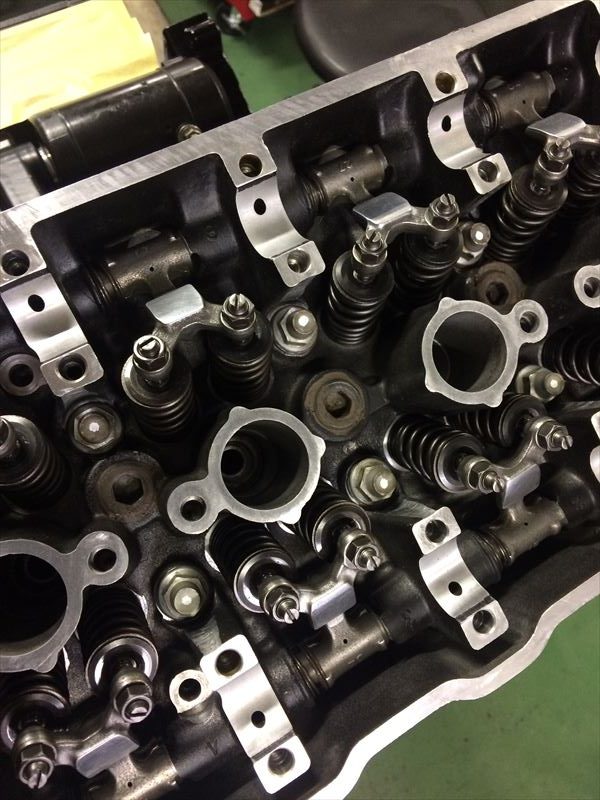
スレッドコンパウンドを塗布したヘッドボルトを適正に締め付けて行き、最終的にトルクレンチで管理。各周辺パーツも順次取り付けて、カムシャフト搭載の準備に入ります。
![](http://www.spec-hiroshima.com/top/wp-content/uploads/2020/09/IMG_0174_R-rotated.jpg)
![](http://www.spec-hiroshima.com/top/wp-content/uploads/2020/09/IMG_0173_R-rotated.jpg)
![](http://www.spec-hiroshima.com/top/wp-content/uploads/2020/09/IMG_0174_R-1-rotated.jpg)
![](http://www.spec-hiroshima.com/top/wp-content/uploads/2020/09/IMG_0177_R-rotated.jpg)
![](http://www.spec-hiroshima.com/top/wp-content/uploads/2020/09/IMG_0175_R-rotated.jpg)
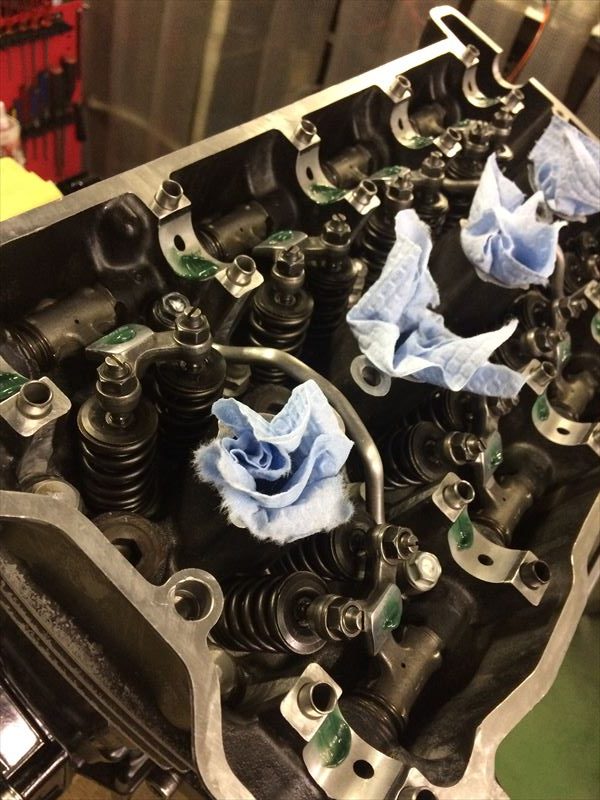
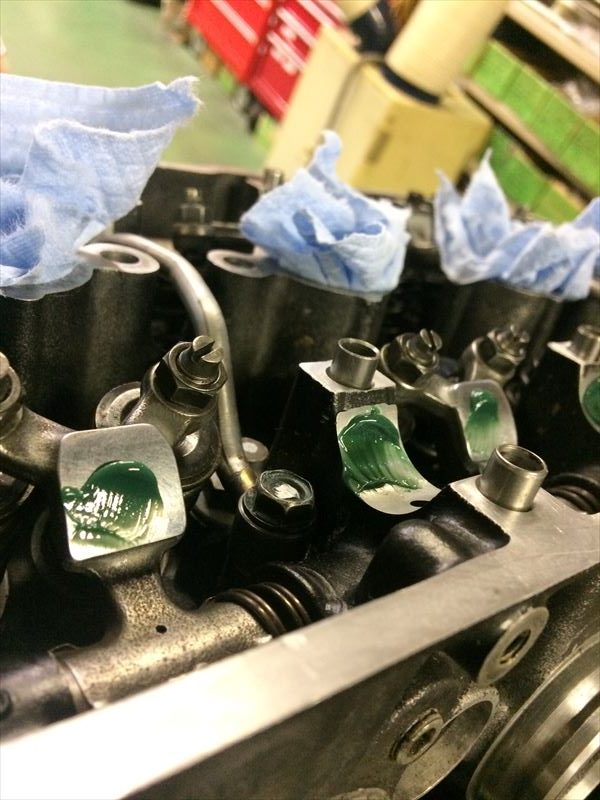
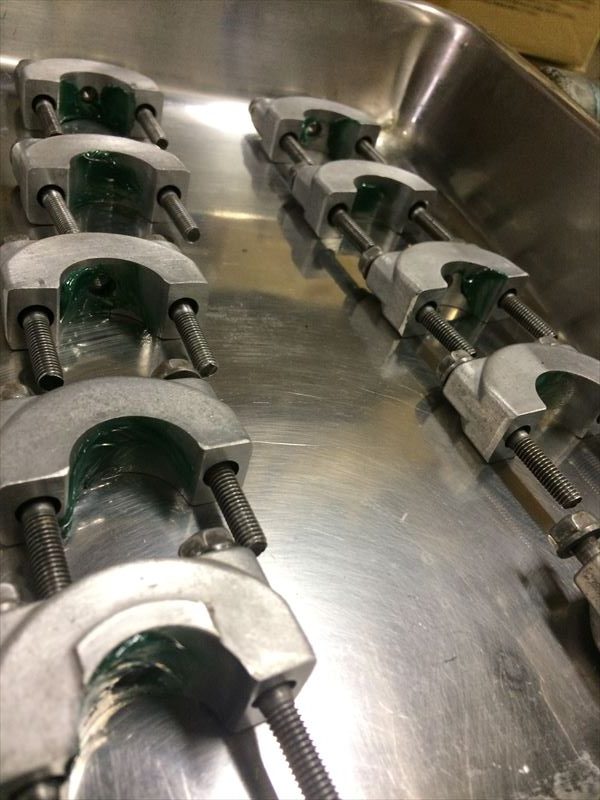
組付け時や、最初のエンジン始動に備えて、グリスを塗布して進行していきます。
![](http://www.spec-hiroshima.com/top/wp-content/uploads/2020/09/IMG_0178_R-rotated.jpg)
![](http://www.spec-hiroshima.com/top/wp-content/uploads/2020/09/IMG_0180_R-rotated.jpg)
![](http://www.spec-hiroshima.com/top/wp-content/uploads/2020/09/IMG_0181_R-rotated.jpg)
![](http://www.spec-hiroshima.com/top/wp-content/uploads/2020/09/IMG_0186_R-rotated.jpg)
![](http://www.spec-hiroshima.com/top/wp-content/uploads/2020/09/IMG_0184_R.jpg)
つづく